Starting out as a MIDI controller and evolving into a standalone synth, the Moonbeam Digital Synthesizer aims to push the limits of microcontroller sound capabilities.
After browsing the Hack Club Slack (really go check them out, they're great), I saw a new hardware program released called Blueprint. Similar to previous events, this one provides funding for hardware projects of different levels of complexity. After just finishing the design for the Cyber Watch32, I was burned out on brain power and wanted to follow a guide for my next project. I had always wanted to do some kind of audio project, and conveniently there was a guide for a MIDI keyboard. After doing a lot of research, I realized that MIDI controllers need an external software, often called a Digital Audio Workstation or DAW, to work. I imagined a more complete all-in-one station to create music, add effects, and maybe even loop. What I wanted was a synthesizer.
The most basic form of a synthesizer is a machine that creates sound through digital waves rather than acoustic vibrations. They are often stylized like a piano and include extra features like effects, filters, and looping or sequencing.
All good projects start with a good plan. I did a ton of research on different ways to make sound. I had previously pulled a speaker out of an old DVD player and had a pack of buttons to act as piano keys for now. As always, however, software became my weakness. There are a couple of ways to make sound, but the general idea is that you send analog data, either using digital signals with Pulse Width Modulation to approximate analog signals, or true analog, to a speaker or amplifier. The faster the oscillations of that wave, the higher the pitch. This is where "A = 440Hz" comes from: a wave going back and forth 440 times per second creates an "A" note.
Sound is hard to get right because having too slow of a loop causes pitch shifts and other problems, so I chose the Raspberry Pi Pico microcontroller, which is fast enough for this project. There are also a few audio libraries to simplify development. I found examples using the Mozzi audio library and even got sound to come through, albeit faintly, but I could not find a single project that made a standalone synthesizer using Mozzi. (Though there is a good Arduino example manually playing sine waves, as well as many MIDI controllers.)
Using sketchy Arduino code, I got different notes to play when one of 12 buttons was pressed. I then added 3 slide potentiometers, a 128px OLED, and rotary encoders, all on a breadboard. One slider controls volume, one pitch, and one vibrato (the shake and color of a note). There were a few issues, mostly with playing notes simultaneously, but it worked well enough to start designing a board for a full-featured project.
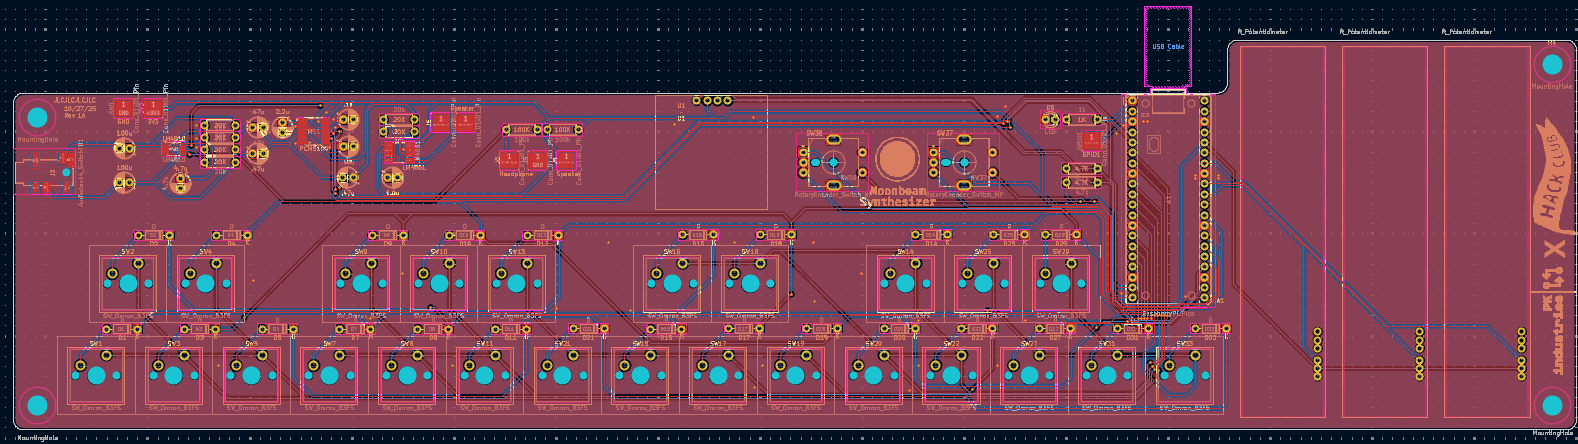
My favorite part of any project is designing a circuit board. I started by drawing the schematic. The 25 piano keys are multiplexed keyboard switches using only 10 GPIOs, with diodes on every switch to allow multiple presses. For audio, 3 pins connect to an I2S Digital-to-Analog Converter (PCM5100 chip) for higher-quality sound. The sliders connect to 3 analog inputs, and 2 rotary encoders take up 6 pins. The I2C OLED leaves two GPIOs unused—one for an LED and one as a test pad for PWM audio if needed.
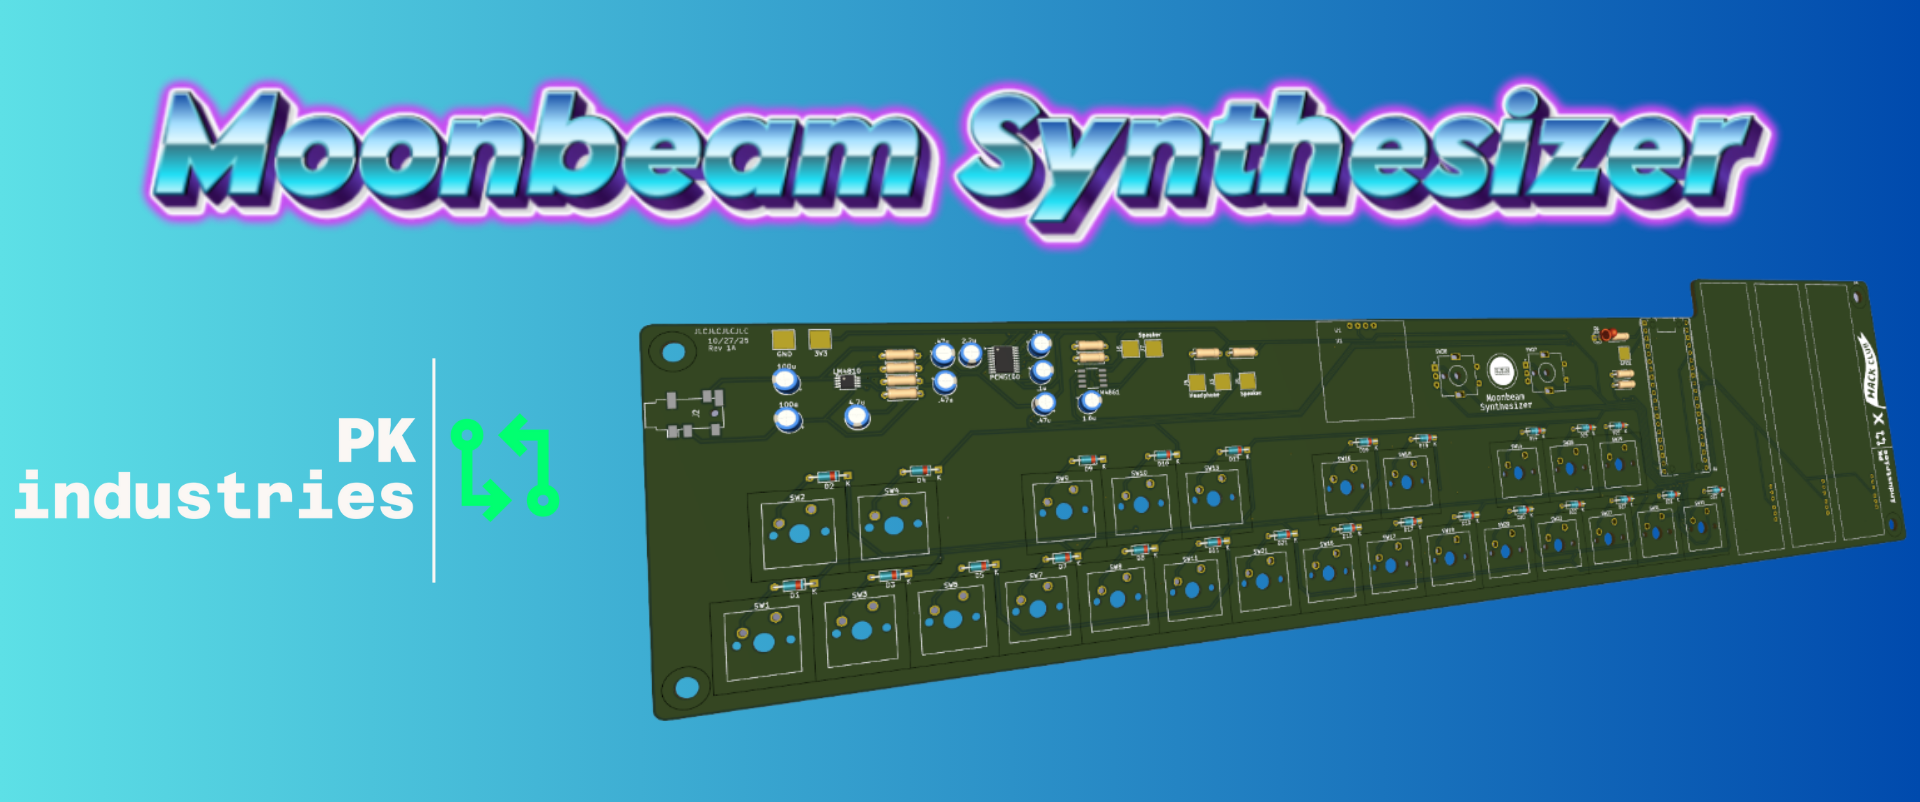
Moving everything onto the board was challenging due to component size. The final board measures about 350mm x 90mm to fit all switches. Audio chips and passive components were easier to route, and I'm very happy with the final design.
The code may be my favorite part. The Raspberry Pi Pico is a joy to program in VS Code using PlatformIO.
The challenge was using both cores of the Pico. One core scans the keyboard matrix, analog sliders, and event flags,
mixes sound, outputs to the DAC, and records the last 128 samples for the second core. The second core handles user input, scanning rotary encoders, and managing the OLED menu.
- Main tab: shows notes each voice is playing and analog slide positions
- Waveform selector: change wave type
- ADSR Changer: adjust Attack, Decay, Sustain, and Release of notes
- Waveform viewer: visualizes audio waveform from samples
![]()
The waveform selector tab was simple to implement, but care had to be taken because both cores run simultaneously.
The waveform selector (and most other audio-affecting functions) sets a shared atomic boolean flag, which the audio core handles.
The ADSR selector lets you set times and levels using the rotary encoders, with the code scaling and drawing them on the OLED.
The waveform viewer is the most complex, using 128 samples from the audio core to draw lines and show patterns.
Because the buffer is circular, the graph slides left and right. This is number one on the bug list and should be solved soon.
This may be my favorite project so far. The code and hardware were very interesting but not overly complex. Hack Club generously funded and supported the development. Boards have not been received yet, but I am confident this will work with minimal changes. If you want to create your own synthesizer, the files are available open source on my GitHub.